The quest to shore up the dollhouse continues. All areas at the top and bottom have been secured, now I move to the middle. Notice the way this section sags on either side:

Using wood glue, applied with a mascara wand, I coat the sides:

As well as the layers that are coming apart:

I placed shims to ensure the middle section would stay supported while curing, and though I originally thought I had more clamps than it turned out I did, I had to resort to chip clips, but only on the spots that didn't need the greatest support. I then placed the large clamp on either side of the mid-section:

I allowed the 6 room side of the dollhouse to cure for a full 24 hours (just as had been done with every prior glue application), before moving on to the 5 room side (the lighting isn't the best as we are in the midst of dreary rain and overhead lighting is no match against it):

The same process was repeated:

Once complete, in an effort to further seal the wood (which has clearly met with water damage at one or more points in its time on the planet), I applied wood filler to any area that might benefit from it. I think this will also help prevent splintering and more importantly, prevent tiny splinters from piercing tiny playful fingers down the line.

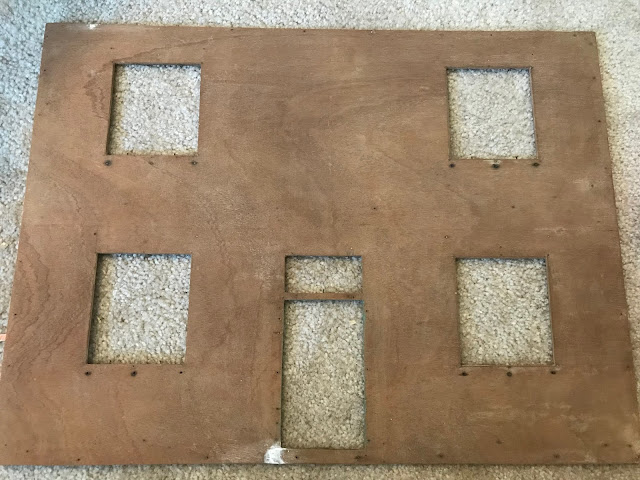
Nope, didn't get to the source of the paper. Not only that, but there were lots of areas I was having trouble scraping away wallpaper at the top section even in the interior rooms. Perhaps this might have something to do with it. I took out the trusty screwdriver and removed the entire panel this time. After what I found, I removed the other three as well:


Wouldn't you know it? A small section of electrical remained under one panel, but MORE paper would once again have to be scraped away! It was also some of the hardest paper to remove by far! I guess the panels had preserved them well. BUT...it confirmed my theory. This house did not originally have electricity. It had been wallpapered and the areas under these panels all had white ceiling paper applied to them. Someone later came along and added said panels to disguise the electrical wires they'd installed. Possibly two owners or more here. Nevertheless, I had plenty more paper removal ahead of me:


Since I've positioned the dollhouse this way in an attempt to get better access for removal, I thought I'd finally provide a picture of the underside as I've neglected to do so thus far:

Once all the paper was removed, I returned to sanding and adding wood filler:

I also did the facades. Notice I removed the doors which I hadn't originally planned on doing but after all this wallpaper turning up in nearly every nook and cranny, I figured it would be wise to do so. And I was right, there were remnants of the interior room wallpaper under each piece of door trim, which I scraped away, then sanded, and applied wood filler, particularly to that one broken area by the underside of the door:
Speaking of doors, I'll return to an earlier shot (one in which you can see the papers I mentioned)...I still had a door with a piece of trim missing from its uppermost quadrant:

The repair isn't perfect, but neither were these original doors. I'm trying to stay true to the original construction while allowing myself to modernize it in appearance. I had to remove more nails and the doorknobs that no longer had the actual knobs attached, but the door itself turned out alright. At least I'm hoping and praying it will...once painted:

Paint. Yes, I think we might actually (finally...hopefully) be ready to tackle priming this beast. But that will be covered in a future post...

Using wood glue, applied with a mascara wand, I coat the sides:

As well as the layers that are coming apart:

I placed shims to ensure the middle section would stay supported while curing, and though I originally thought I had more clamps than it turned out I did, I had to resort to chip clips, but only on the spots that didn't need the greatest support. I then placed the large clamp on either side of the mid-section:

I allowed the 6 room side of the dollhouse to cure for a full 24 hours (just as had been done with every prior glue application), before moving on to the 5 room side (the lighting isn't the best as we are in the midst of dreary rain and overhead lighting is no match against it):

The same process was repeated:

Once complete, in an effort to further seal the wood (which has clearly met with water damage at one or more points in its time on the planet), I applied wood filler to any area that might benefit from it. I think this will also help prevent splintering and more importantly, prevent tiny splinters from piercing tiny playful fingers down the line.
*****
We had some out of town guests and a few days have gone by without me being able to return to the dollhouse. Wouldn't you know it, I'd really convinced myself it wasn't possible but, yes, yet ANOTHER surprise was in store this morning!
I started sanding some of the areas where I'd put wood filler in the middle, but as I did so, I noticed what looked like paper sticking through the layers of wood there. I continued my sanding effort until I hit an area that simply splintered away:

Now I could no longer ignore it. My earlier efforts at gluing those loose middle panels were for naught. I was going to have to remove at least the lower portion of one of those middle wood panels where the electrical had been hidden:

Now I could no longer ignore it. My earlier efforts at gluing those loose middle panels were for naught. I was going to have to remove at least the lower portion of one of those middle wood panels where the electrical had been hidden:

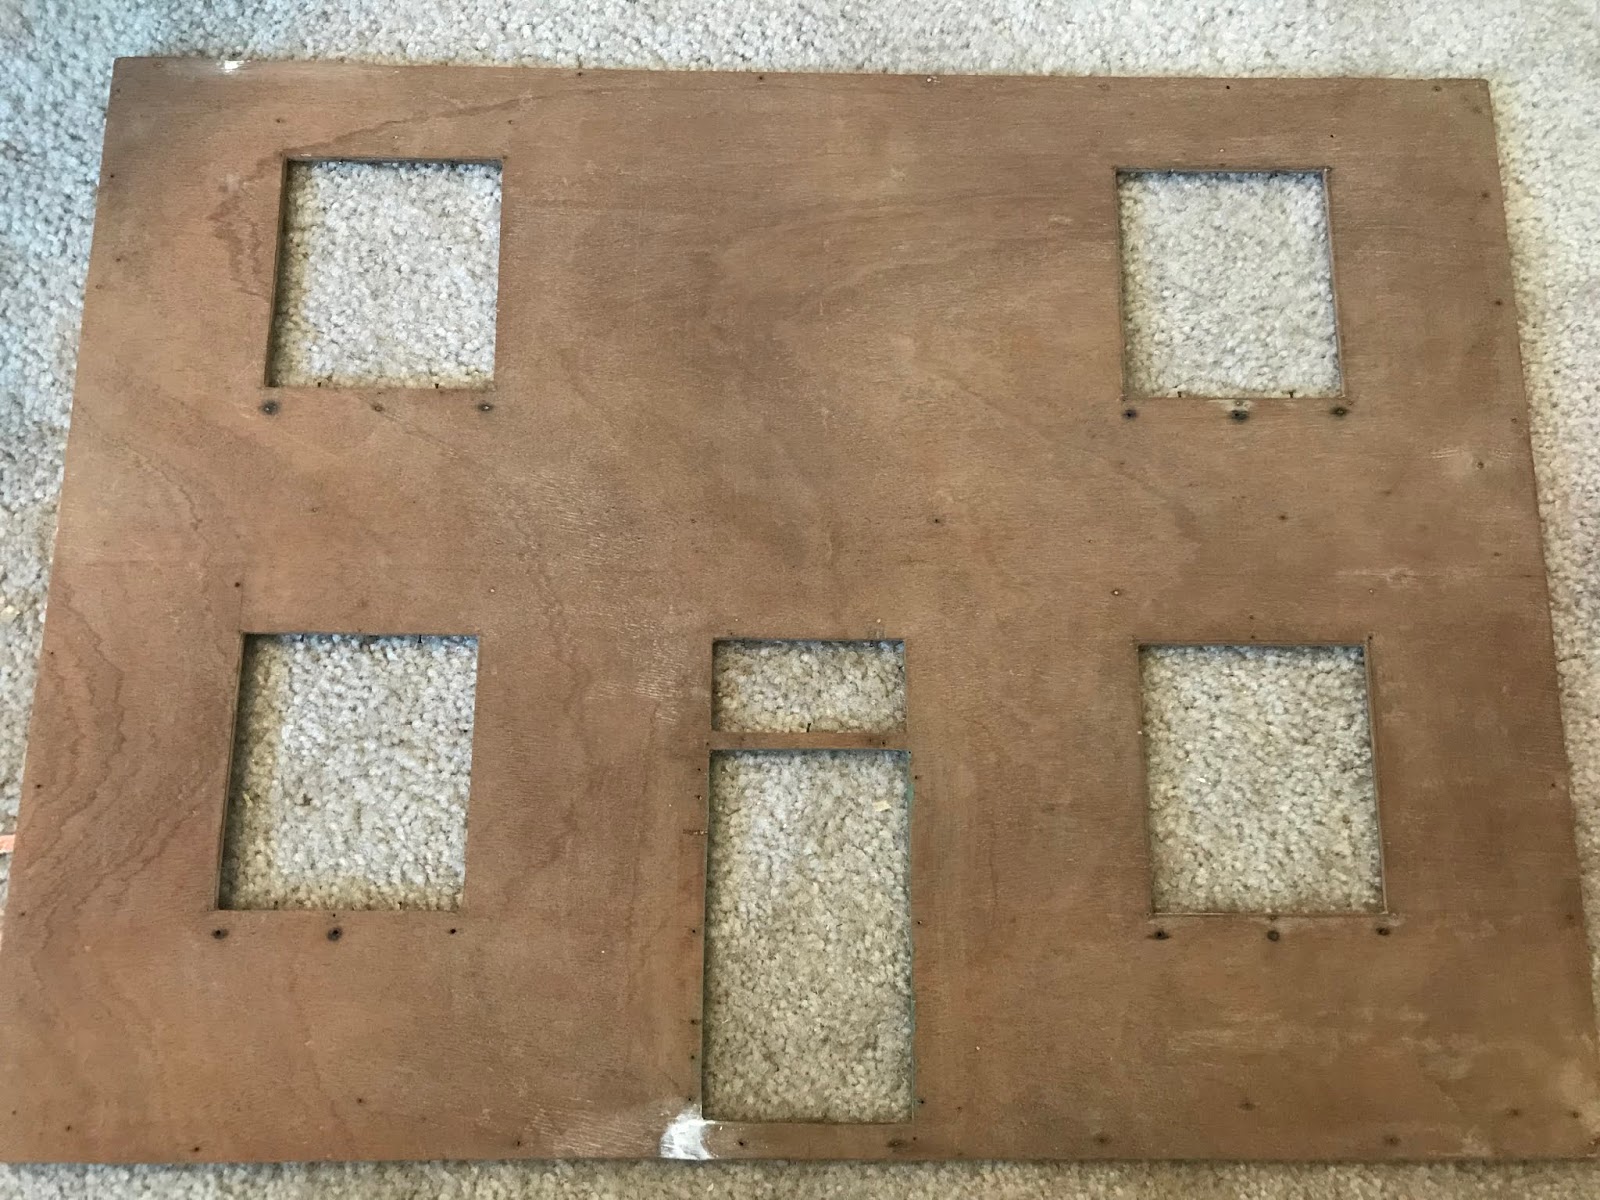
Nope, didn't get to the source of the paper. Not only that, but there were lots of areas I was having trouble scraping away wallpaper at the top section even in the interior rooms. Perhaps this might have something to do with it. I took out the trusty screwdriver and removed the entire panel this time. After what I found, I removed the other three as well:


Wouldn't you know it? A small section of electrical remained under one panel, but MORE paper would once again have to be scraped away! It was also some of the hardest paper to remove by far! I guess the panels had preserved them well. BUT...it confirmed my theory. This house did not originally have electricity. It had been wallpapered and the areas under these panels all had white ceiling paper applied to them. Someone later came along and added said panels to disguise the electrical wires they'd installed. Possibly two owners or more here. Nevertheless, I had plenty more paper removal ahead of me:


Since I've positioned the dollhouse this way in an attempt to get better access for removal, I thought I'd finally provide a picture of the underside as I've neglected to do so thus far:

Once all the paper was removed, I returned to sanding and adding wood filler:

I also did the facades. Notice I removed the doors which I hadn't originally planned on doing but after all this wallpaper turning up in nearly every nook and cranny, I figured it would be wise to do so. And I was right, there were remnants of the interior room wallpaper under each piece of door trim, which I scraped away, then sanded, and applied wood filler, particularly to that one broken area by the underside of the door:
Speaking of doors, I'll return to an earlier shot (one in which you can see the papers I mentioned)...I still had a door with a piece of trim missing from its uppermost quadrant:

The repair isn't perfect, but neither were these original doors. I'm trying to stay true to the original construction while allowing myself to modernize it in appearance. I had to remove more nails and the doorknobs that no longer had the actual knobs attached, but the door itself turned out alright. At least I'm hoping and praying it will...once painted:

Paint. Yes, I think we might actually (finally...hopefully) be ready to tackle priming this beast. But that will be covered in a future post...


Comments
Post a Comment