Multiple projects currently underway: painting of the trim and windows, creating shelves for the garden house addition, adding ceiling papers, and rehabbing some dollhouse furnishings.
First, the trim. These particular pieces (with the exception of one, which goes on the side of the house) are to get attached to the very top of the roof. All had nail holes that needed to be filled and one piece had been badly broken, so I had to make do with the materials I have on hand to repair it:

First, I glued the piece together for stability:

Then I filled it with additional wood and wood filler to form a structurally sound piece. I did the same with some of the additional more detailed roofing sections:


Then everything was painted multiple times. The paper bag has painted trim as well as the newly painted baseboards:

More baseboards still need to be made to replace the ones that originally fit where the panels were, which have now been removed, creating long walls where before they were divided. Everything in due course.
I decided to make some floating shelves in the newer garden house addition:

I tried to paint them a similarly coordinating color as that which was included with the original kit:

The finished product:

I don't want to paper the interior until I've received the doors and can ensure they'll be a proper fit. Some resizing is most likely going to be necessary so I don't want to go jumping the gun and then kick myself by finding out I'd need to remove the wallpaper because cutting needs to take place. I don't know for a fact that this will occur, but with this sort of tiny work, you just never know what you don't know until you can actually get in there with the material. Soooo....
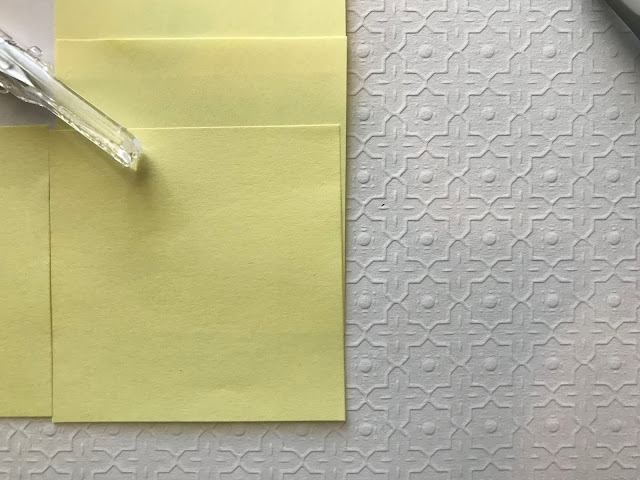
I started prepping for the ceiling papers. These shouldn't have any bearing on the papered walls or flooring when we come to that. I turned the house upside down and placed copy paper and post-its to get the sizing right. I allowed some overlap as I'd read its best to place the papers, let the paste dry, and then cut them after the fact. It's easier to cut back an overlap than to repair wallpaper that was cut too small for the actual room to begin with:


I did the cutting with the X-Acto knife. The scissors are only there to hold the ceiling paper down as it kept curling up and preventing picture taking:

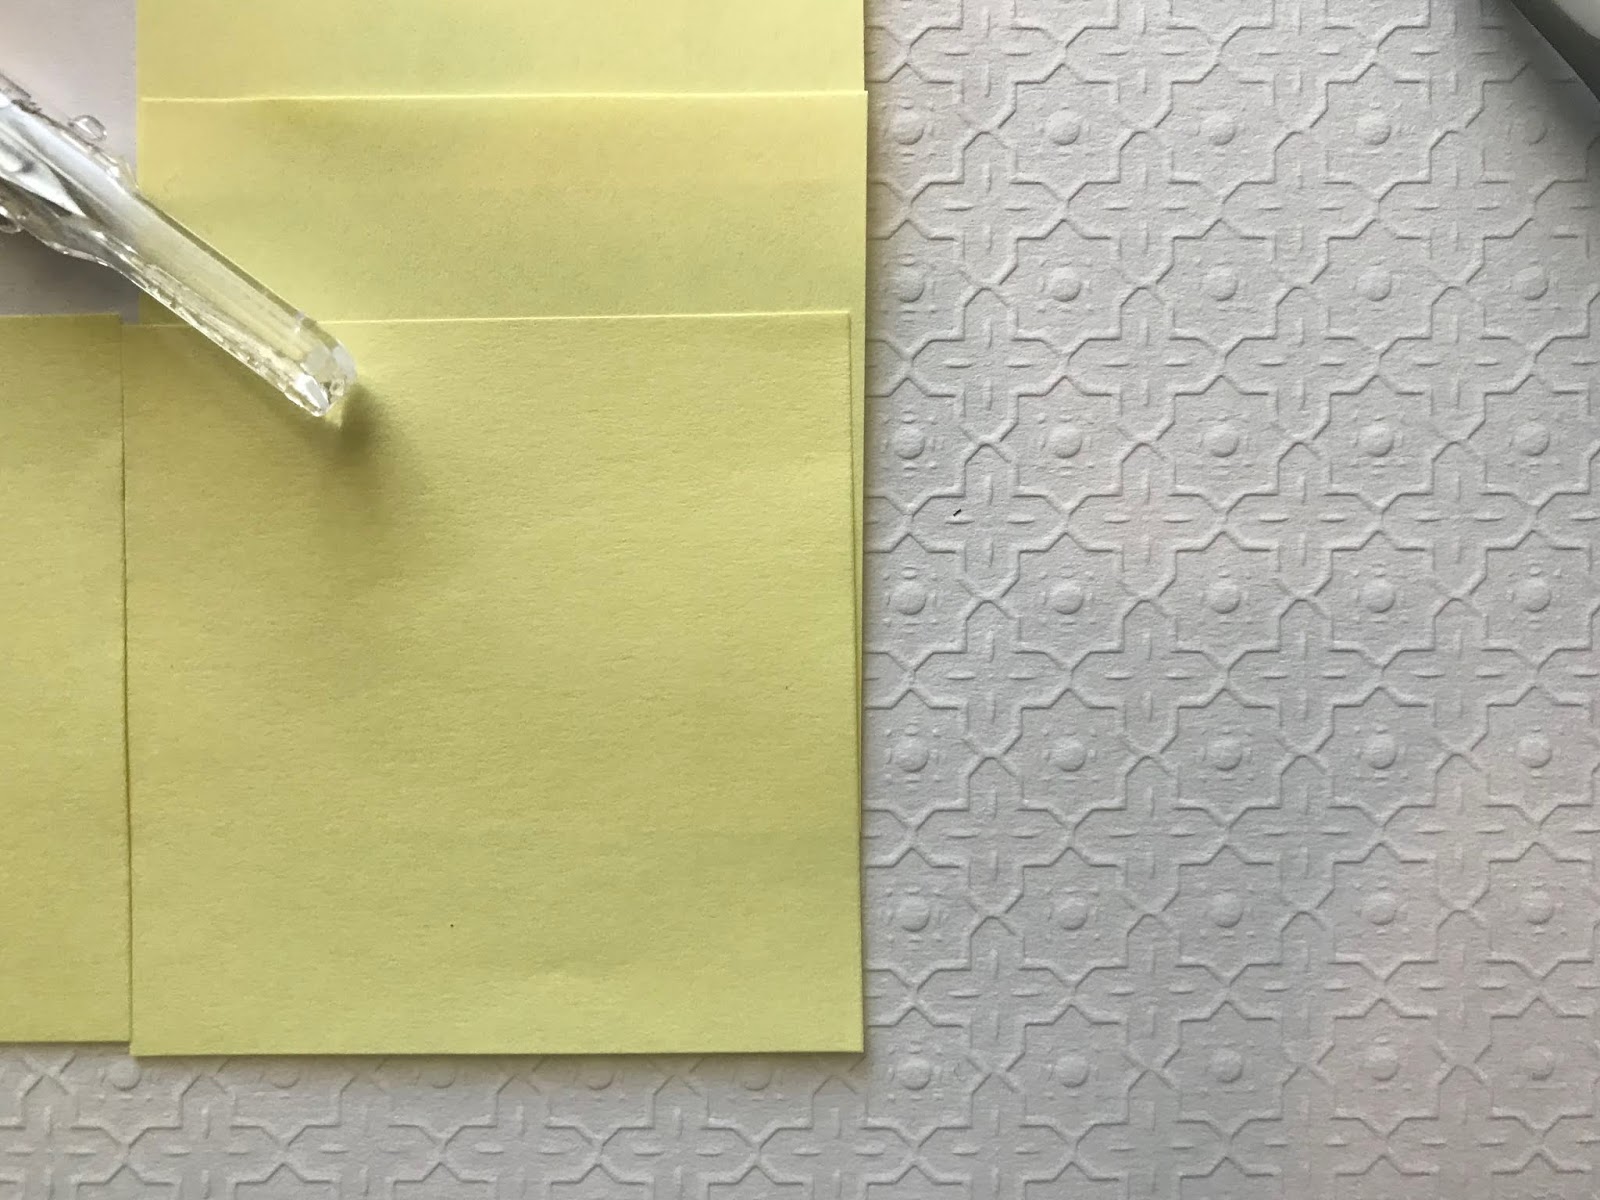
The ceiling paper is nicely embossed. Here's a close-up:
I used YES! paste as it seemed to be universally loved when I did my earlier research. I used a different piece of freezer paper and craft sticks after every single application. The last thing you want is to accidentally put your next piece of wallpaper down on top of glue - you'd be picking glue up on the surface of the paper that would be facing you once installed inside the house! I also had plenty of wet wipes on hand so that I could wipe my fingers and hands, as well as the old credit card I used to smooth the paper out to prevent bubbling.

When gluing, I used a thin layer but did allow the paste to overlap all of the edges so that I could ensure it all stuck in place, otherwise, they might peel and curl after the fact. This picture isn't a very good reflection of what ultimately went into the house as I made certain to use the craft sticks to even the glue out from edge to edge. This shot makes it look a little thick in the middle:

Here's the paper once placed, note that they overlap the edges:

After drying, out came the X-Acto:

You can't see much detail in these pictures, unfortunately, but here they are once completed:


But here's a closer shot:

I also began filling any damaged areas on the windows before priming. I'm still missing two and waiting for those to be delivered before tackling the exterior facades. Gonna require A LOT of primer:

Finally, I have a few pieces of furniture that I wanted to change up and embellish. They're not bad pieces, they just don't currently match the idea I have in my head for the end result:

First, I antiqued them:

Once that was complete, I embellished a bit:

Next up...the roof and, cross fingers, taking on the missing trim and baseboards! Oh, and the new doors and windows as well! I can't do anything more until I have those squared away.
First, the trim. These particular pieces (with the exception of one, which goes on the side of the house) are to get attached to the very top of the roof. All had nail holes that needed to be filled and one piece had been badly broken, so I had to make do with the materials I have on hand to repair it:

First, I glued the piece together for stability:

Then I filled it with additional wood and wood filler to form a structurally sound piece. I did the same with some of the additional more detailed roofing sections:


Then everything was painted multiple times. The paper bag has painted trim as well as the newly painted baseboards:

More baseboards still need to be made to replace the ones that originally fit where the panels were, which have now been removed, creating long walls where before they were divided. Everything in due course.
I decided to make some floating shelves in the newer garden house addition:

I tried to paint them a similarly coordinating color as that which was included with the original kit:

The finished product:

I don't want to paper the interior until I've received the doors and can ensure they'll be a proper fit. Some resizing is most likely going to be necessary so I don't want to go jumping the gun and then kick myself by finding out I'd need to remove the wallpaper because cutting needs to take place. I don't know for a fact that this will occur, but with this sort of tiny work, you just never know what you don't know until you can actually get in there with the material. Soooo....
I started prepping for the ceiling papers. These shouldn't have any bearing on the papered walls or flooring when we come to that. I turned the house upside down and placed copy paper and post-its to get the sizing right. I allowed some overlap as I'd read its best to place the papers, let the paste dry, and then cut them after the fact. It's easier to cut back an overlap than to repair wallpaper that was cut too small for the actual room to begin with:


I did the cutting with the X-Acto knife. The scissors are only there to hold the ceiling paper down as it kept curling up and preventing picture taking:

The ceiling paper is nicely embossed. Here's a close-up:
I used YES! paste as it seemed to be universally loved when I did my earlier research. I used a different piece of freezer paper and craft sticks after every single application. The last thing you want is to accidentally put your next piece of wallpaper down on top of glue - you'd be picking glue up on the surface of the paper that would be facing you once installed inside the house! I also had plenty of wet wipes on hand so that I could wipe my fingers and hands, as well as the old credit card I used to smooth the paper out to prevent bubbling.

When gluing, I used a thin layer but did allow the paste to overlap all of the edges so that I could ensure it all stuck in place, otherwise, they might peel and curl after the fact. This picture isn't a very good reflection of what ultimately went into the house as I made certain to use the craft sticks to even the glue out from edge to edge. This shot makes it look a little thick in the middle:

Here's the paper once placed, note that they overlap the edges:

After drying, out came the X-Acto:

You can't see much detail in these pictures, unfortunately, but here they are once completed:


But here's a closer shot:

I also began filling any damaged areas on the windows before priming. I'm still missing two and waiting for those to be delivered before tackling the exterior facades. Gonna require A LOT of primer:

Finally, I have a few pieces of furniture that I wanted to change up and embellish. They're not bad pieces, they just don't currently match the idea I have in my head for the end result:

First, I antiqued them:

Once that was complete, I embellished a bit:

Next up...the roof and, cross fingers, taking on the missing trim and baseboards! Oh, and the new doors and windows as well! I can't do anything more until I have those squared away.


Comments
Post a Comment